Accessing the Record
- Navigate to the Record Section:
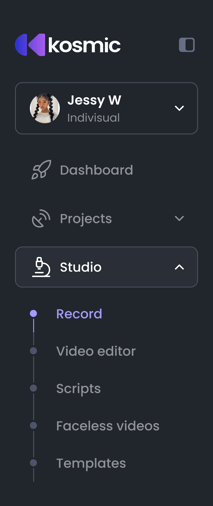
- From the left-hand menu, click on Studio.
- Select Record to open the recording interface.
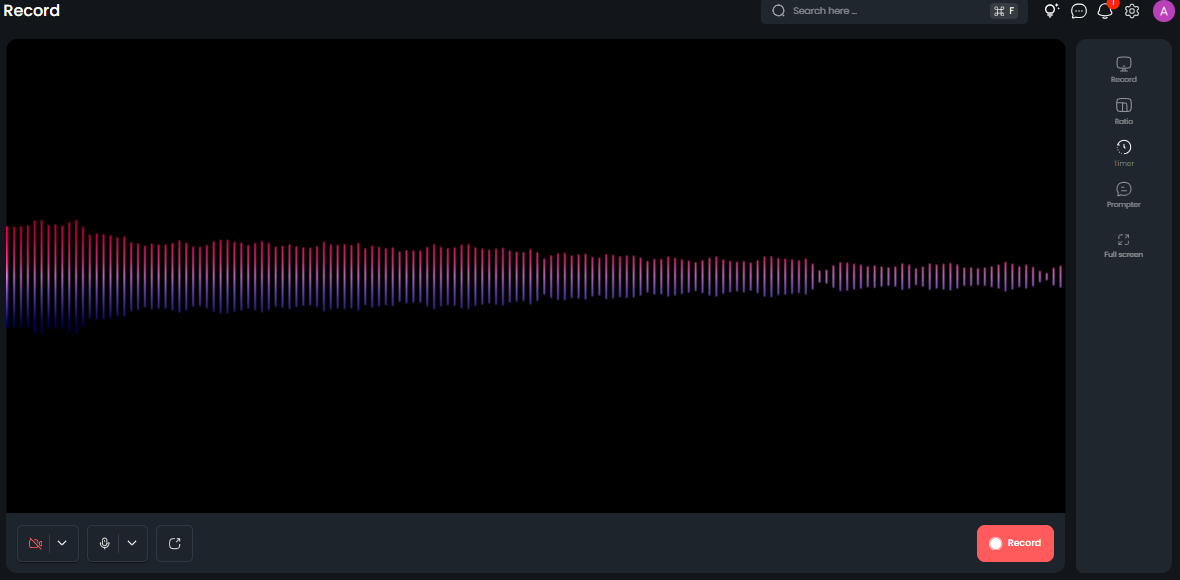
Interacting with the Record Features
Step 01: Camera Controls
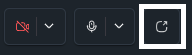
- Enable/Disable Camera:
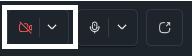
- At the bottom-left corner of the recording screen, click on the camera icon to enable or disable the camera.
-
- If disabled, the message "The camera is disabled" will appear on the screen.
Step 02: Microphone Controls
- Mute/Unmute Microphone:
- Use the microphone icon at the bottom to mute or unmute the microphone.
-
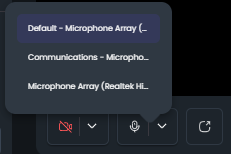
- Click the dropdown next to the microphone to choose from available input devices (e.g., Default Microphone Array).
Step 03: Screen Sharing
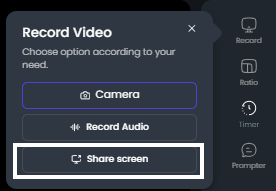
- Share Your Screen:
- Click the Record Video menu on the right side or click the share screen icon at the bottom of the screen
- Select Share Screen.
-
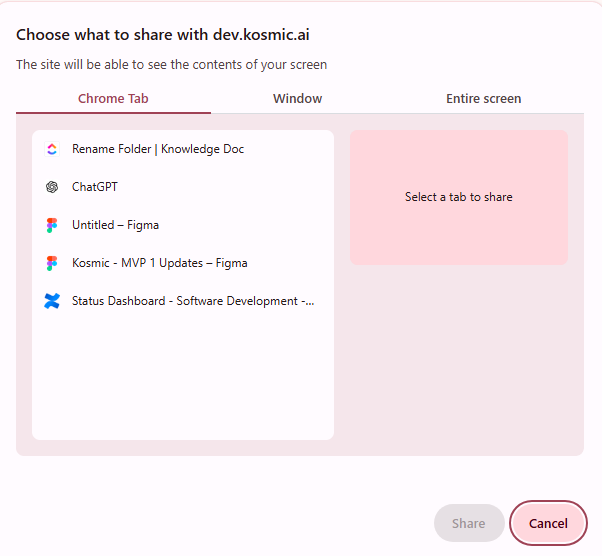
- Choose from Chrome Tab, Window, or Entire Screen in the popup window and click Share.
Step 04: Audio Recording
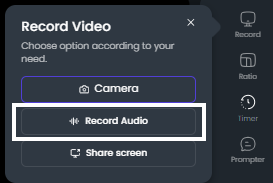
- Record Audio Only:
- From the Record Video menu, select Record Audio.
- This will record audio without video.
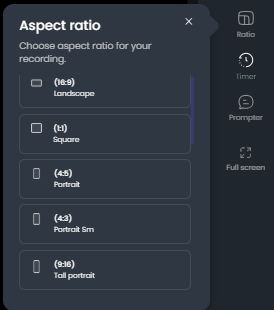
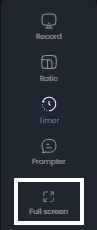
Step 05: Aspect Ratio
- Choose Aspect Ratio:
- Click on Ratio from the right-hand options.
- Select from:
- 16:9 (Landscape): Best for YouTube videos.
- 1:1 (Square): Suitable for Instagram posts.
- 4:5 (Portrait): Ideal for Instagram Reels or TikTok.
- 9:16 (Tall Portrait): Designed for vertical platforms like YouTube Shorts and TikTok.
- And many more.
- Once selected, the recording interface adjusts to the chosen size.
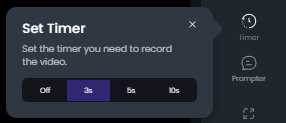
Step 06: Timer
- Set Countdown Timer:
- Click Timer on the right menu.
- Select 3 seconds, 5 seconds, or 10 seconds, or the user can off the timer.
- Start recording, and the countdown timer will display before recording begins.
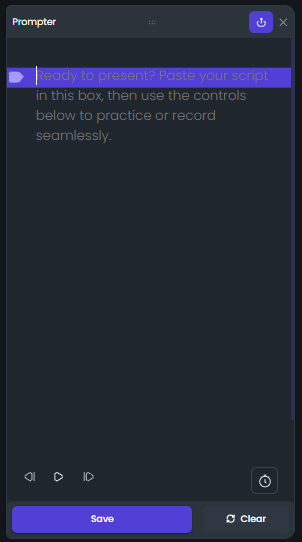
Step 07: TelePrompter
- Use the Teleprompter:
- Click Prompter on the right-hand menu.
- Paste your script into the text box.
-
- Adjust scrolling speed using the controls at the bottom of the prompter.
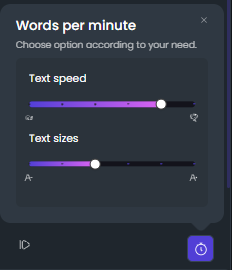
-
- This allows you to read your script while recording seamlessly.
Note: additionally you can use the "Record" option under Script feature to land on the teleprompter too
Step 08: Full-Screen Mode
- Click Full Screen to maximize the recording interface for an uncluttered view.
Recording a Video
- Start Recording:
- Ensure your camera and microphone are enabled (if needed).
- Click the Record button at the bottom.
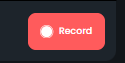
-
- A red indicator will show that the recording is in progress.

- Pause or Stop:
- Pause:
- Use the Pause button to temporarily stop the recording.
- Stop:
- Click Stop to end the recording session.
- Pause:

Saving and Managing Recordings
- Preview Recording:
- After stopping the recording, a playback screen will appear.
- Review your recording to ensure quality.
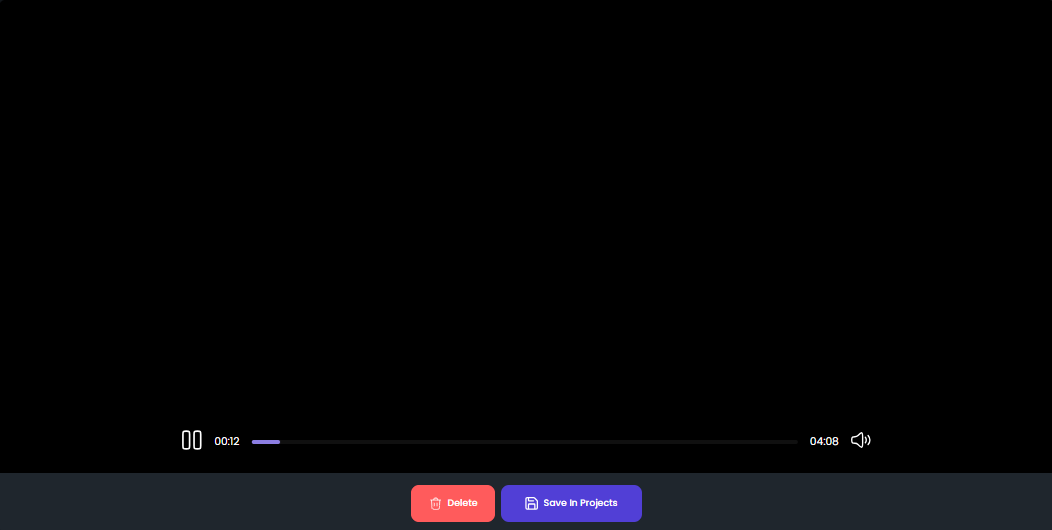
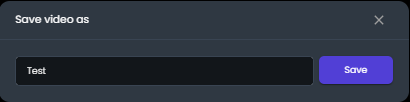
- Save Recording:
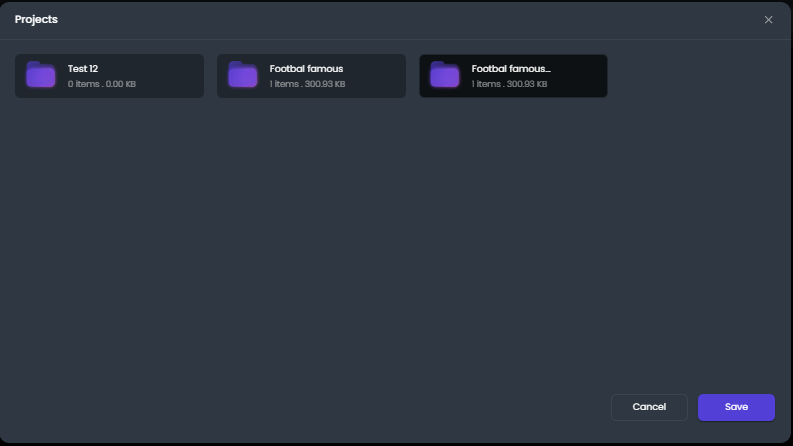
- Click Save in Projects at the bottom of the preview screen.
- Enter a name for your recording in the popup (e.g., "Test") and click Save.
Upon clicking the Save button a popup of kosmic.ai file manager will appear where the user can select the folder and save the recording in that particular folder
- File Management:
- Saved files will be stored in Kosmic’s file manager, accessible from the main menu.